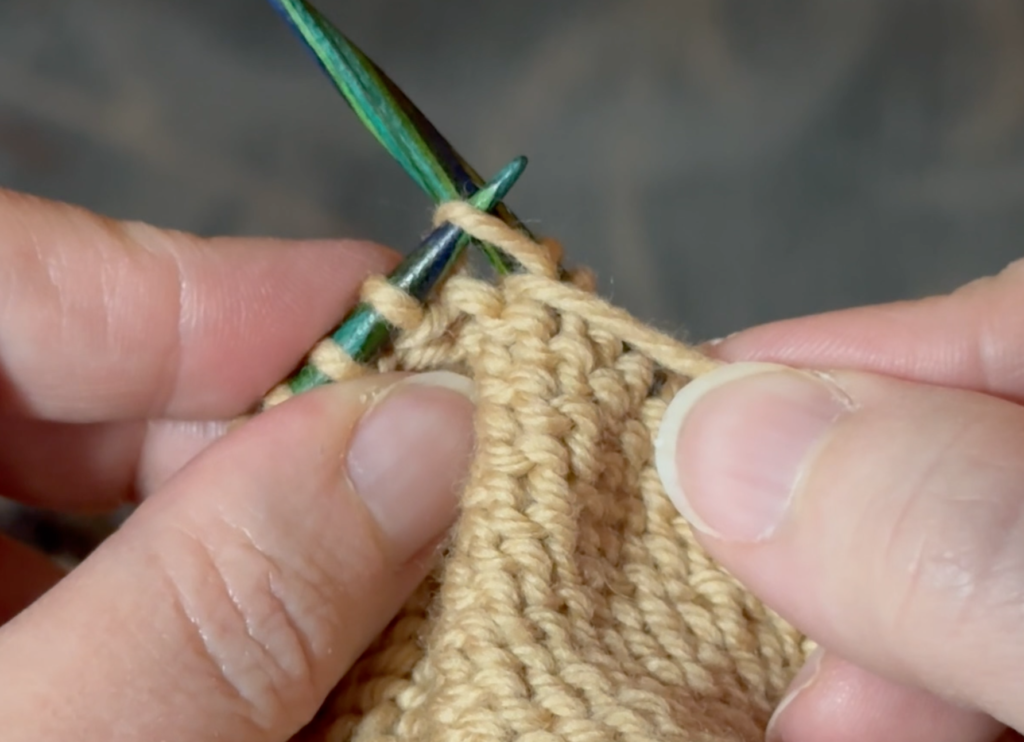
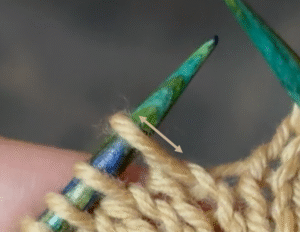
 The stitch orientation, or how the stitch is mounted, is also very important. As you look at a knit stitch, notice that there are two “legs” to the stitch. The leading leg should be in the front and the trailing leg in the back. If you knit into the stitch when it is mounted the opposite way you will actually end up twisting the stitch as it is placed on the right hand needle. You can also tell that it is mounted incorrectly if it is not as easy to slide your needle into the stitch and knit into it. The stitch will twist as you make the stitch.
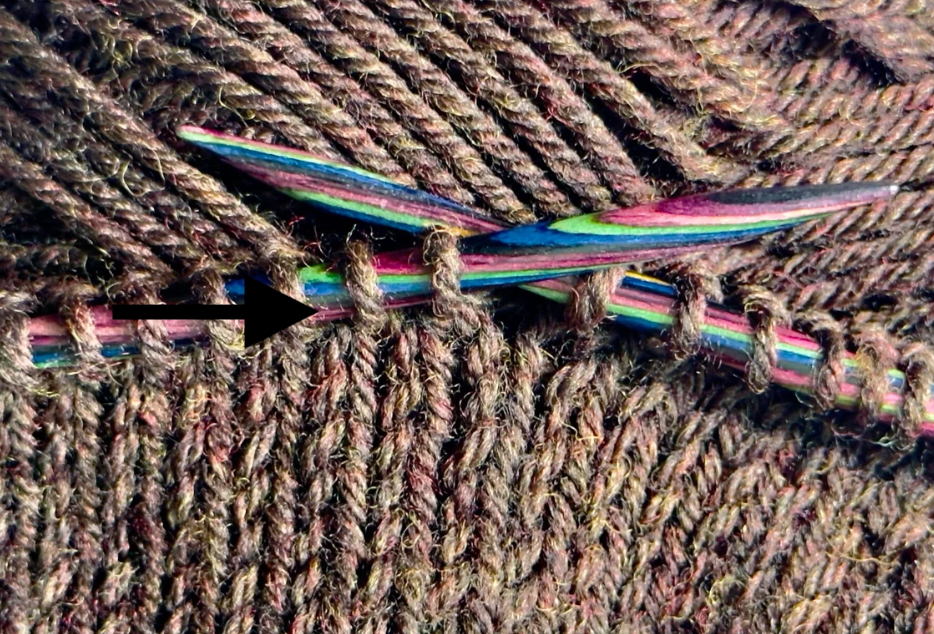
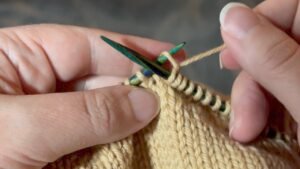 Now that you can recognize both the knit and purl stitches on your needle, it is time to start tinking them. For the knit stitch, pick up the loop that is behind the needle from left to right and pull off the stitch.Once you know which direction to take a stitch off your right-hand needle, it is easy to undo as many stitches as needed. Check out the videos below for a demonstration.
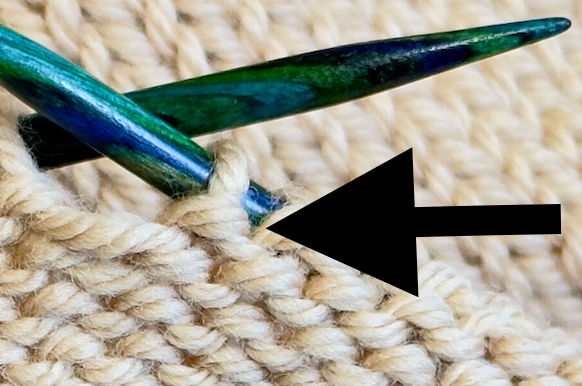
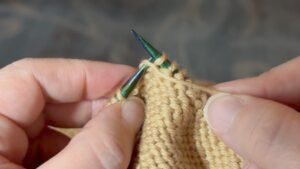 For the purl stitch, insert your needle into the front of that next stitch from left to right and pull it off of your needle. Once again, be careful to mount the stitch correctly on your left hand needle. If you have trouble recognizing its orientation for the first few tinked stitches, turn your work around to see how the stitches look from the knit side. Check that they are mounted with the leading leg in the front and the trailing leg in the back.